Photoshop: Apply Texture Brush to Vector

To apply a brush texture to a vector in Adobe Photoshop follow these steps.
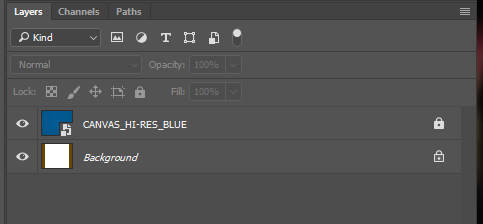
Select Background
Start with whatever background you want. In this case we are using a blue canvas. Set your background on it’s own layer and lock the layer. We won’t be touching this for the rest of the tutorial.

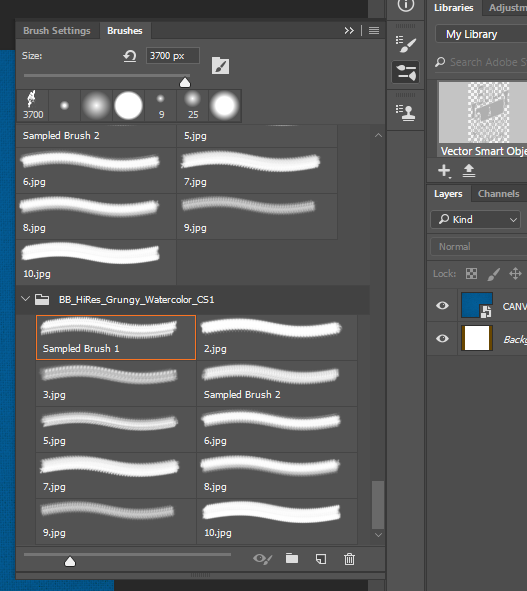
Select Brush
Open the brush window and select whichever brush you would like to apply.
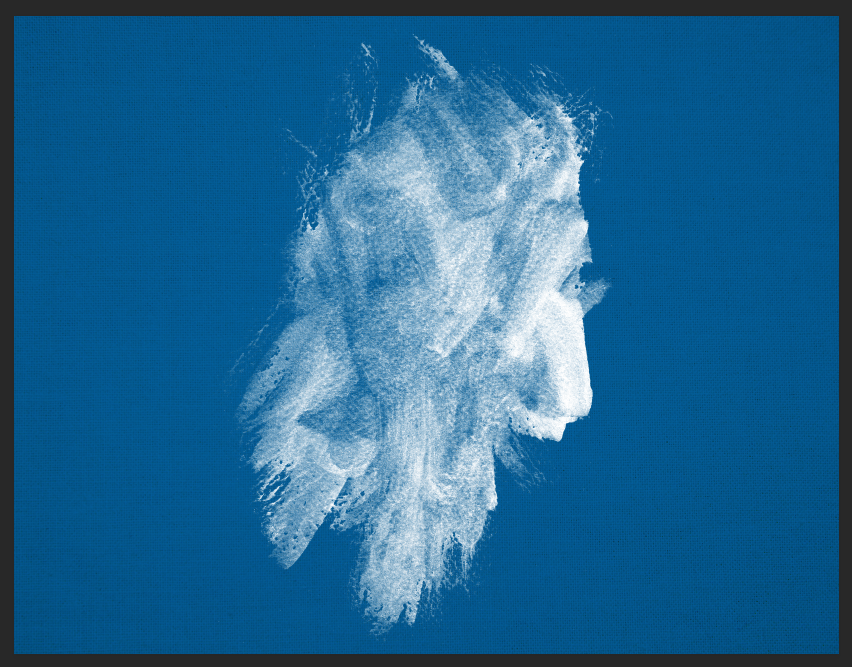
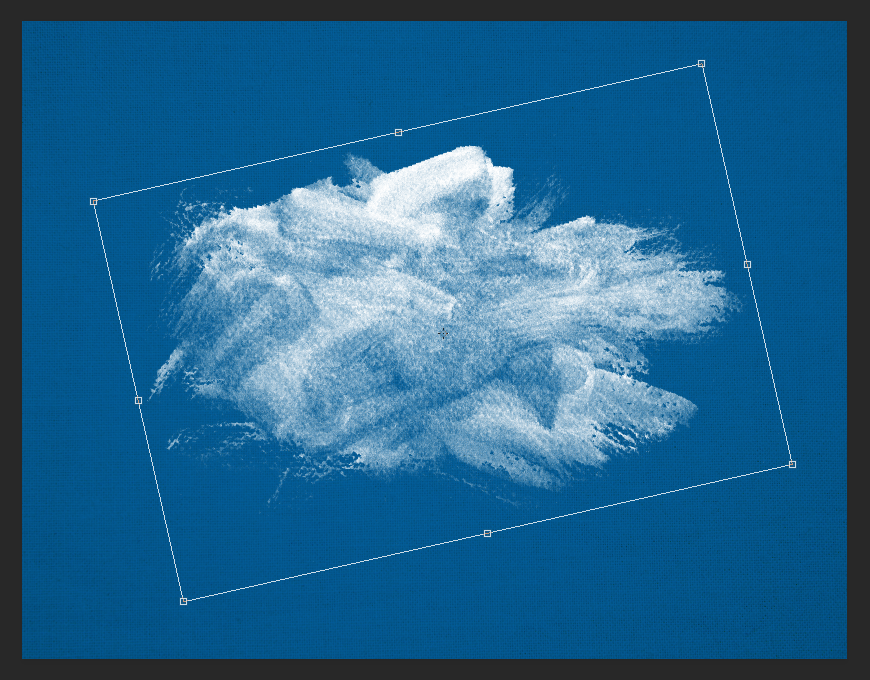
Apply Brush
Apply the brush so that the whole stroke is inside the canvas. If it goes over the edge it will clip. You can resize and rotate the brush stroke later.
Name Brush Layer
Name your new layer.

Adjust Brush Layer
Using the selection tool you can rotate and resize the stroke however you want.

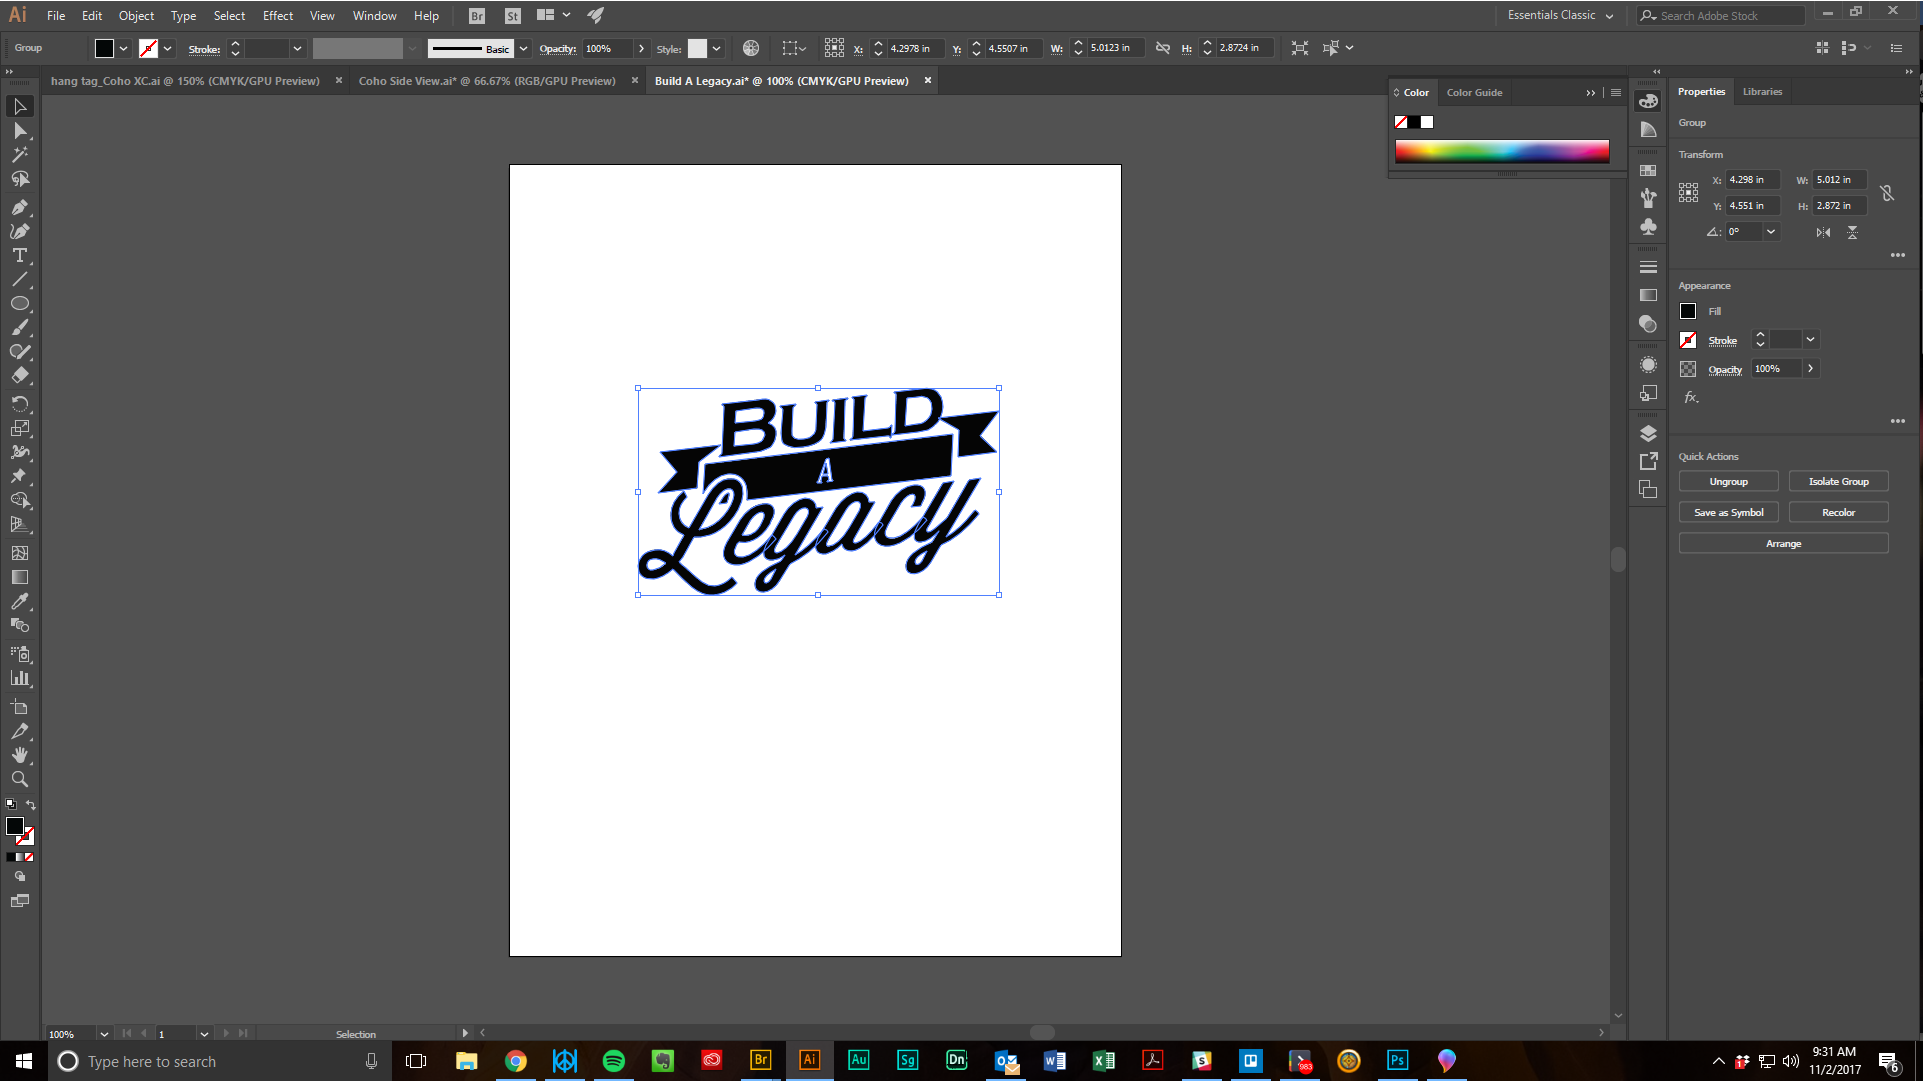
Select Vector
Go into Illustrator and copy your vector of choice.
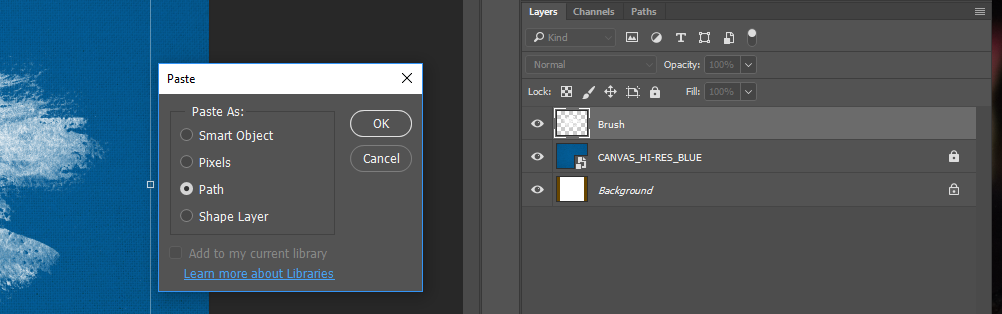
Paste Vector
Back in Photoshop, select the Brush layer you just made and then paste (ctrl+v) the vector you just copied in Illustrator. Photoshop will ask you what format you would like the vector pasted as. Select Path.
Apply Brush to Vector
The path will be applied to the brush stroke.
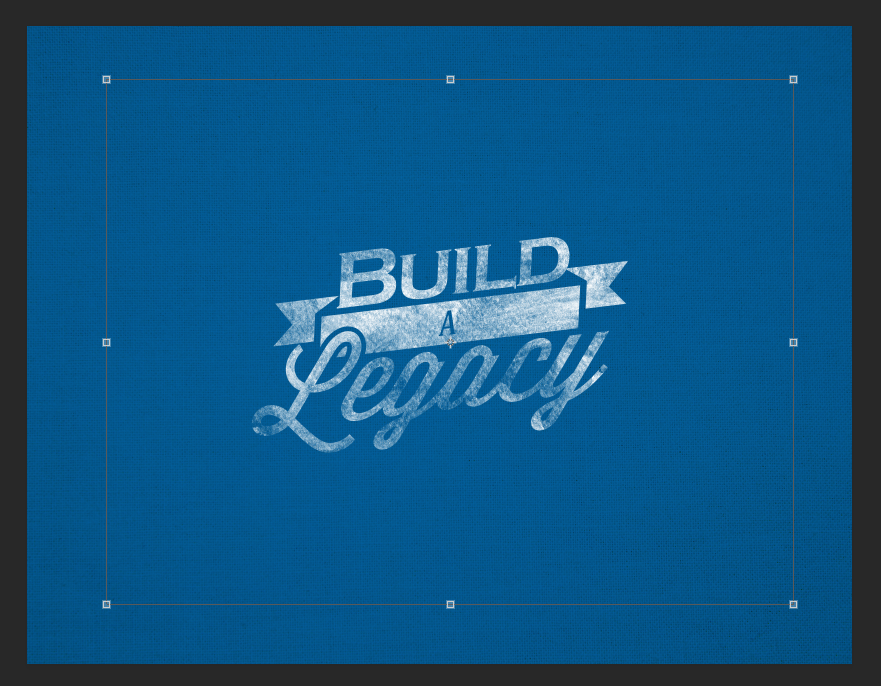
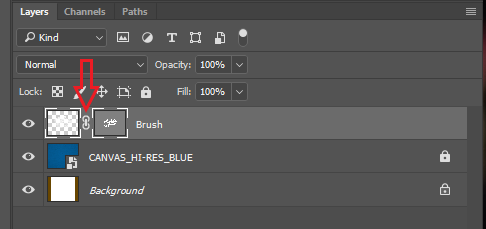
Unlink brush from vector
You can click the chain icon to unlink the brush stroke and the vector path so that the stroke and be adjusted independently inside of the path. This will let you fine tune the appearance of the stroke on the vector.
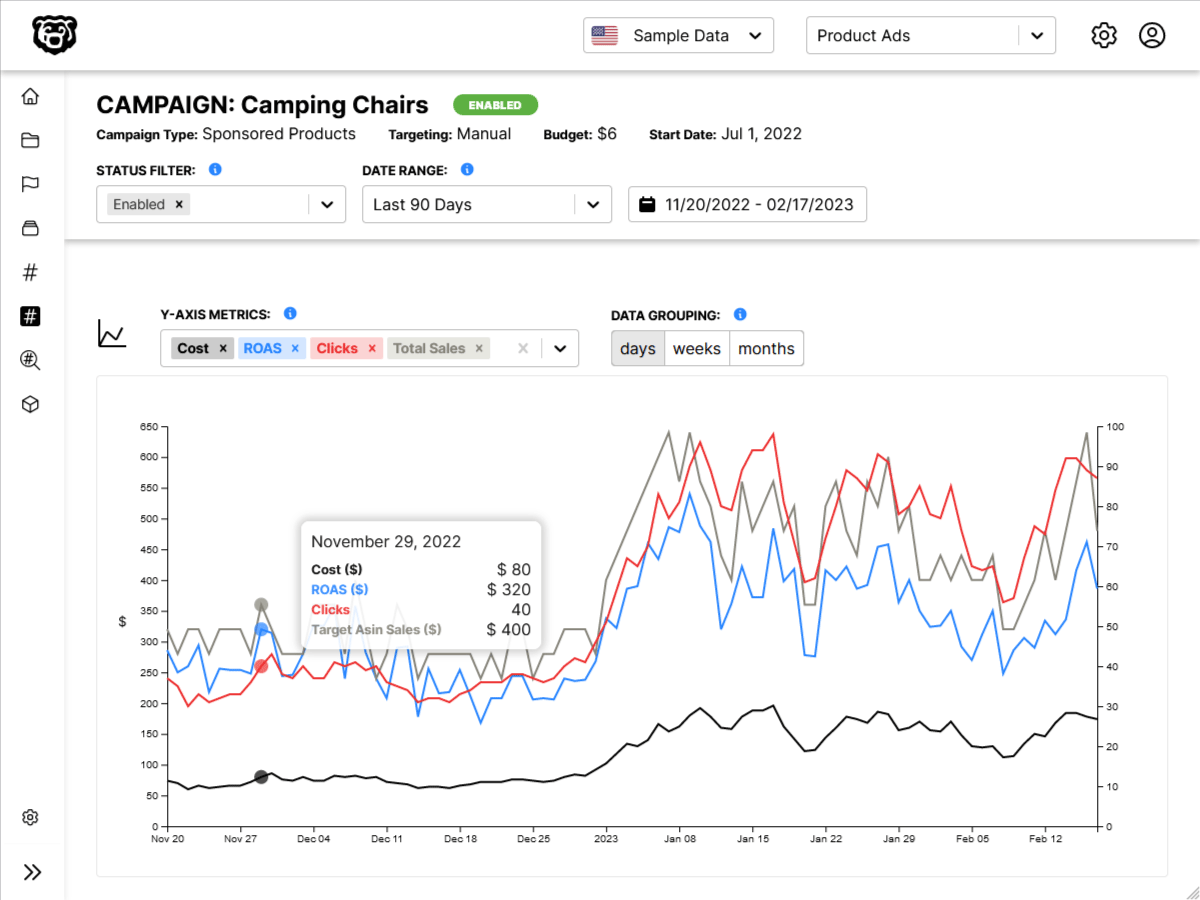
Automated Amazon Reports
Automatically download Amazon Seller and Advertising reports to a private database. View beautiful, on demand, exportable performance reports.